Poached eggs can be a bit intimidating, but with the right technique, anyone can master this classic culinary skill.
Whether you’re a novice cook or a seasoned chef, poaching eggs to perfection can elevate your breakfast game, impress guests, and add a touch of elegance to your meals.
Here are the essential steps and tips to ensure you make the best poached egg every single time.
1. Start with Fresh Eggs
The key to a perfectly poached egg is using the freshest eggs you can find. Fresh eggs have firmer whites, which hold together better during poaching. To check if an egg is fresh, place it in a bowl of water.
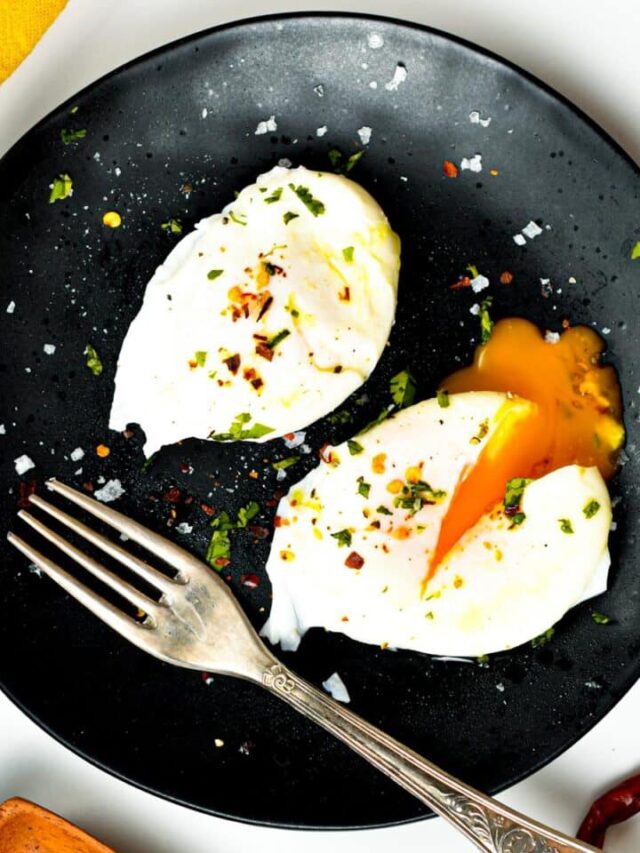
Fresh eggs will sink, while older eggs will float. Using fresh eggs ensures that your poached egg has a neat, compact shape with a runny yolk and firm whites.
2. Use the Right Water Temperature
Water temperature is crucial when poaching eggs. The ideal temperature is around 180°F to 190°F (82°C to 88°C), just below boiling.
Water that’s too hot will cause the egg to cook too quickly and break apart, while water that’s too cool won’t cook the egg properly.
Use a thermometer to monitor the temperature, or look for the telltale signs of small bubbles forming at the bottom of the pan but not rising to the surface.
3. Add a Splash of Vinegar
Adding a small amount of vinegar (about a tablespoon per quart of water) helps the egg whites coagulate more quickly, preventing them from spreading out in the water.
Any mild vinegar will work, such as white vinegar or apple cider vinegar. The vinegar helps maintain the egg’s shape without imparting a noticeable flavor to the egg.
4. Create a Gentle Swirl
Before adding the egg, use a spoon to create a gentle whirlpool in the water.
This swirling motion helps the egg white wrap around the yolk, creating a more compact and aesthetically pleasing poached egg.
Be careful not to make the swirl too vigorous, as it could break the egg apart.
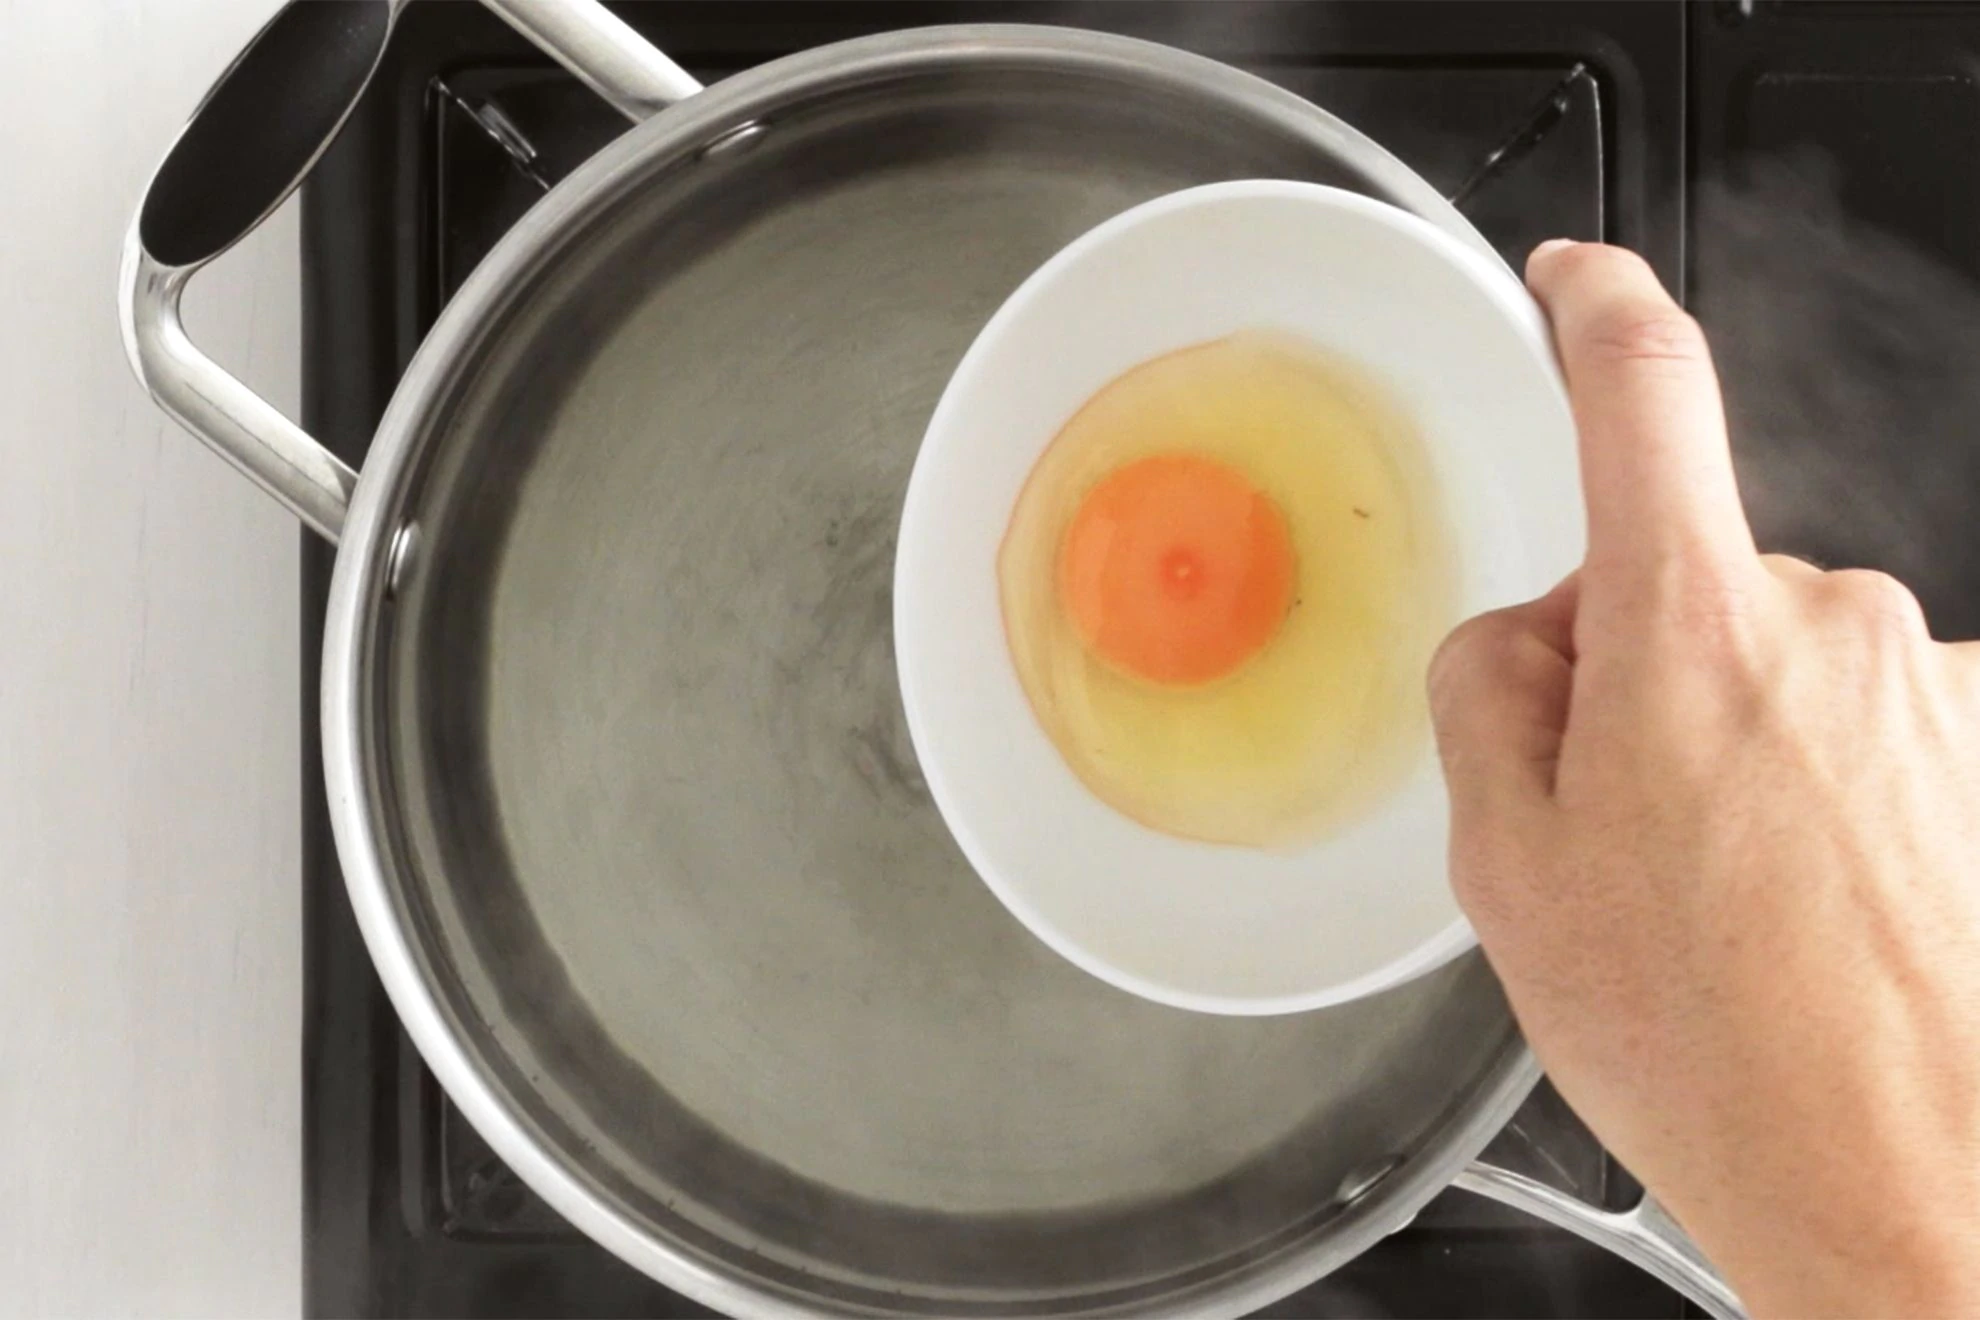
5. Crack the Egg into a Small Bowl
Cracking the egg directly into the water can lead to uneven cooking and broken yolks. Instead, crack the egg into a small bowl or ramekin first.
This makes it easier to slide the egg gently into the water and ensures the yolk remains intact. It also allows you to remove any bits of shell before cooking.
6. Gently Slide the Egg into the Water
Hold the bowl close to the surface of the water and gently slide the egg into the center of the whirlpool.
This method reduces the impact on the egg and helps it maintain its shape. If poaching multiple eggs, ensure they are added one at a time to avoid crowding and ensure even cooking.
7. Time It Right
Cooking time is critical for achieving the perfect poached egg. For a runny yolk, cook the egg for about 3 to 4 minutes.
For a slightly firmer yolk, extend the cooking time to 5 minutes. Use a slotted spoon to lift the egg out of the water and gently press on the yolk to check for your desired consistency.
8. Remove with a Slotted Spoon
Using a slotted spoon, carefully remove the poached egg from the water. This allows the water to drain away, leaving you with a neat and tidy poached egg.
If you’re cooking multiple eggs, place the poached eggs on a plate lined with paper towels to absorb any excess water.
9. Trim Any Ragged Edges
For a professional-looking poached egg, use a small knife or kitchen scissors to trim any ragged edges from the egg white.
This step is optional but adds a polished touch, especially if you’re serving the eggs on a dish where presentation matters.
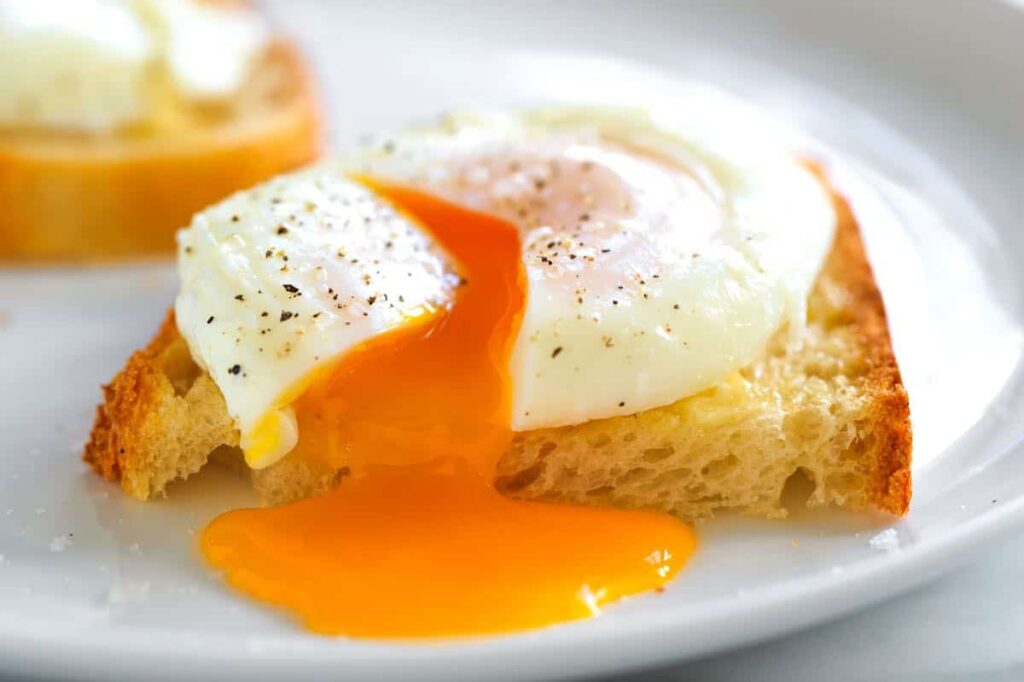
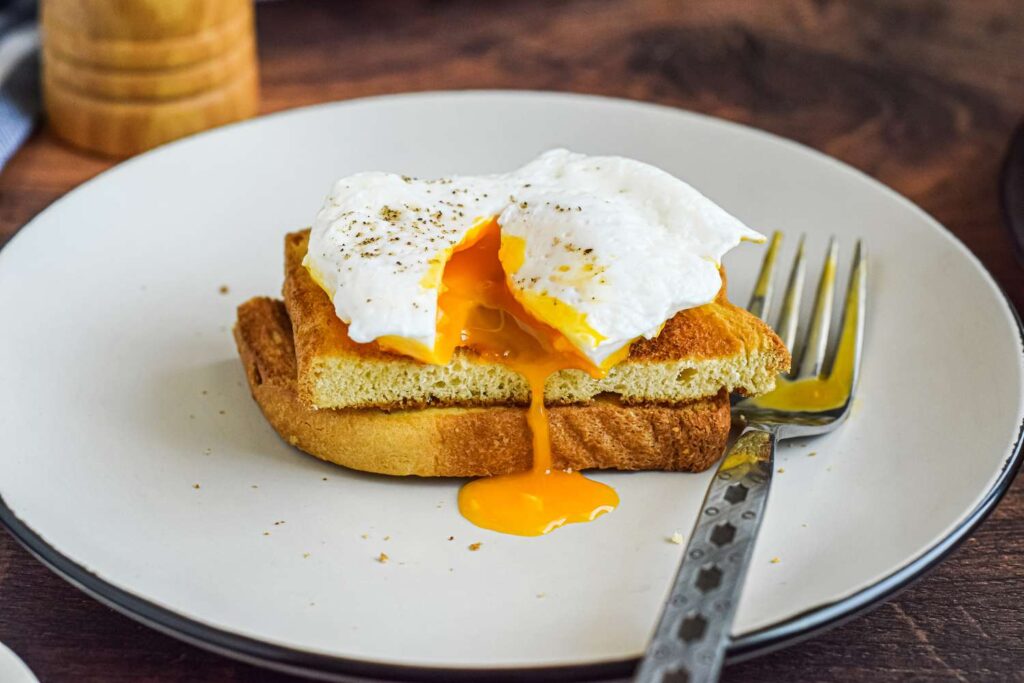
10. Serve Immediately
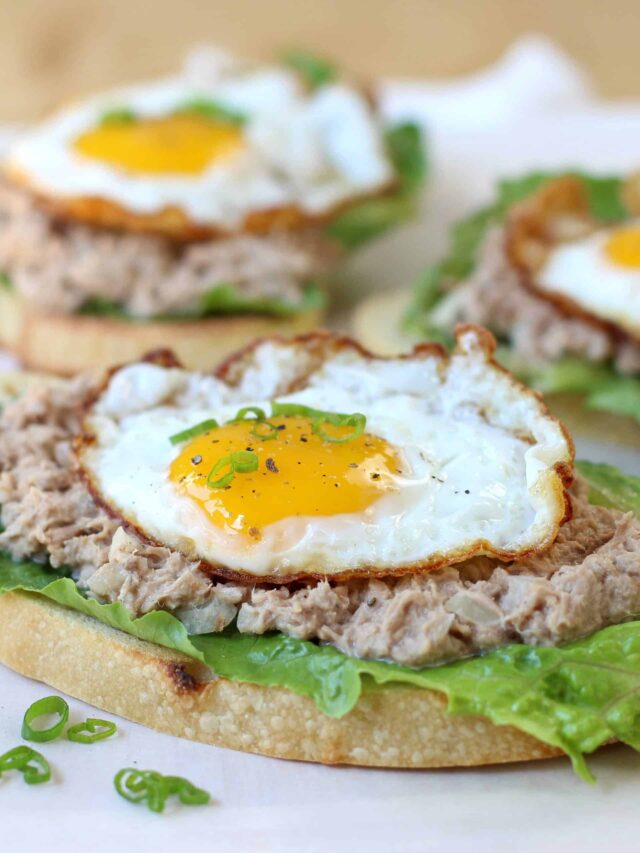
Poached eggs are best enjoyed immediately after cooking. Serve them on toast, with avocado, over a salad, or as part of an Eggs Benedict.
The creamy, runny yolk and tender white are a delightful addition to any meal.
Other Stories That You May Like


Conclusion
Poaching eggs may seem daunting, but with these tips and a bit of practice, you’ll be able to make the best poached eggs every single time.
Remember to use fresh eggs, maintain the right water temperature, and handle the eggs gently throughout the process. With these techniques, you can enjoy perfectly poached eggs that are sure to impress.